Introduction
Building a high Peacekeeper standing opens up powerful barter deals and access to unique weapons that give you an edge in raids. However, each level of Peacekeeper reputation demands specific tasks—collecting items, eliminating certain enemy types, or surviving difficult zones under fire. Tackling these runs on your own means learning patrol routes, clearing multiple areas, and hauling loot across large maps, which can stretch a single task into an hour or more. That time adds up, delaying your next rank and the gear you need to push into higher-tier raids. Tarkov Boosting cuts through that grind by pairing you with an experienced player who knows exactly where to go and how to complete each objective fast.
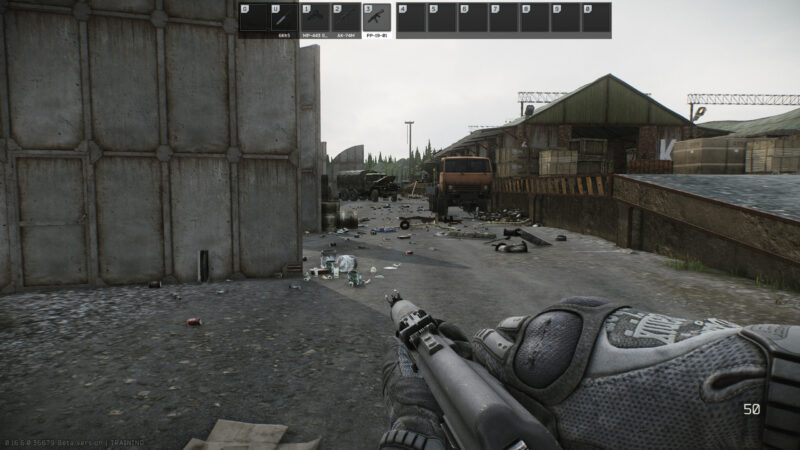
With a boost, you load in with a lean gear set and follow your partner’s lead. They move straight to key locations—whether that means Shturman’s camp in Woods, filing cabinets on Interchange, or medical crates in Shoreline—eliminating the guesswork and wasted steps. Instead of searching every room alone, you arrive at each objective within minutes, grab required items or clear target enemies, and head straight for extraction. On average, boosted Peacekeeper runs finish in 15–20 minutes compared to 45–60 minutes solo. That time savings adds up: over four runs, you reclaim more than two hours that you can reinvest into other goals or more boosting sessions. By focusing on fast, guided runs rather than solo trial-and-error, Tarkov Boosting keeps your Peacekeeper rank climbing steadily while you stay focused on the action that matters.
Identify High-Value Peacekeeper Tasks
Not all Peacekeeper quests deliver the same reputation gains or require equal effort. Start by listing the tasks that offer the biggest jump in standing for the time invested. For example, “Coleman’s Company” asks you to find money and wallets in marked buildings on Customs—high-reward, single-map runs. “Friendly Fire” demands a number of pistol kills on Interchange, which goes quickly with a boost team clearing each floor’s shop layouts. “Delivery from the Past” has you retrieve an MR-133 shotgun from Shoreline resort, while “Far Beyond” requires collecting 25 rounds of RGO grenades found in military crates on Reserve.
Group tasks that share the same map to clear multiple objectives in one session. For instance, you can combine “Coleman’s Company” with “Delivery from the Past”—both make stops on Shoreline’s east wing and pier area. On Woods, link “Peacekeeper Tests” pistol runs with “Underground” boss kill requests in the bunker if you bring the right key and stick to a tight route. Making a simple table or list of target quests, their maps, and key spawn areas ensures you and your booster hit every spot in the shortest order. When you know exactly which objectives to run, your boosting partner can plan a direct path that clears two or three Peacekeeper tasks in a single raid, multiplying your reputation gains per extraction.
Gear and Loadout Setup
A fast, focused loadout is essential for efficient Peacekeeper runs with Tarkov Boosting. Start with a secure case or small pouch that holds exactly the quest items you need—no extra backpack space that encourages risky detours for non-quest loot. Choose a light vest or go without body armor to maximize sprint speed and cut down on stamina drain. Carry only two quick-heal items, such as a painkiller and a bandage, to handle minor scrapes without opening menus. For weapons, pick a compact setup: a short-barrel rifle or SMG with a simple red-dot sight, plus a reliable sidearm on a hotkey for backup. Remove heavy scopes or extended magazines that add weight without speeding up objective grabs.
Set hotkeys so your main weapon, secondary pistol, and heal items are one keypress away. Test this arrangement in an offline lobby: sprint through corridors, swap weapons, apply a heal, and confirm your secure case holds all quest loot without overflow. Keep your quest list open on a second monitor or phone so you can tick off items as you go. This lean, tested setup means zero fumbling in-raid. You load in, follow your booster’s lead, grab or clear exactly what Peacekeeper asks for, and head straight to the exit. No extra gear, no wasted clicks—just fast, clean runs that keep your reputation rising.
Map and Task Alignment
Linking each Peacekeeper task to its proper map and exact objective locations ensures you make every raid count. Below is a table listing key high-reputation tasks, the map where they appear, and the precise spots your carrier will lead you to:
| Task Name | Map | Key Objective Location |
|---|---|---|
| Coleman’s Company | Customs | Gas station office drawer |
| Friendly Fire | Interchange | Tech wing second-floor stores |
| Delivery from the Past | Shoreline | East wing, storage room |
| Far Beyond | Reserve | Bunker pump room |
| Peacekeeper Tests | Woods | Lumber mill office desks |
For example, “Coleman’s Company” requires you to grab cash and wallets from the gas station office on Customs. Your carrier will take you straight to the desk drawer behind the counter, avoiding all other buildings. On Interchange, “Friendly Fire” needs pistol kills in the tech wing—your route skips the main mall area and drops you at the service corridor by the electronics shop. Shoreline’s “Delivery from the Past” sends you to a storage room in the east wing of the resort. Reserve’s “Far Beyond” objective is in the bunker’s pump room—accessed via the locker room corridor. Woods’ “Peacekeeper Tests” pistol runs happen in the lumber mill office; your carrier leads you past the saw area and directly into the desk corridor where targets spawn.
By grouping tasks on the same map—such as pairing “Coleman’s Company” and “Delivery from the Past” on Shoreline east wing—you clear two major reputation runs in a single raid. Mark these spots on your offline map or a simple sketch, then share that with your carrier pre-raid. With every objective and its map location locked in, you eliminate wasted steps, focus only on mission targets, and shave minutes off each run.
Sync with Your Booster
A coordinated start with your carrier guarantees that every detail—from gear checks to spawn type—is handled before you load in. Use this checklist to sync efficiently:
- Join Early: Arrive in the lobby five minutes before the scheduled run time to resolve any last-second issues.
- Voice Setup: Connect to the carrier’s voice channel, test microphone levels, and confirm you can hear callouts clearly.
- Loadout Review: Share a quick screenshot of your pouch, secure case, and light armor setup to ensure it fits the planned objectives.
- Spawn Choice: Agree on Player, Scav, Group, or Map spawn so you both enter the map from the same side and minimize travel time.
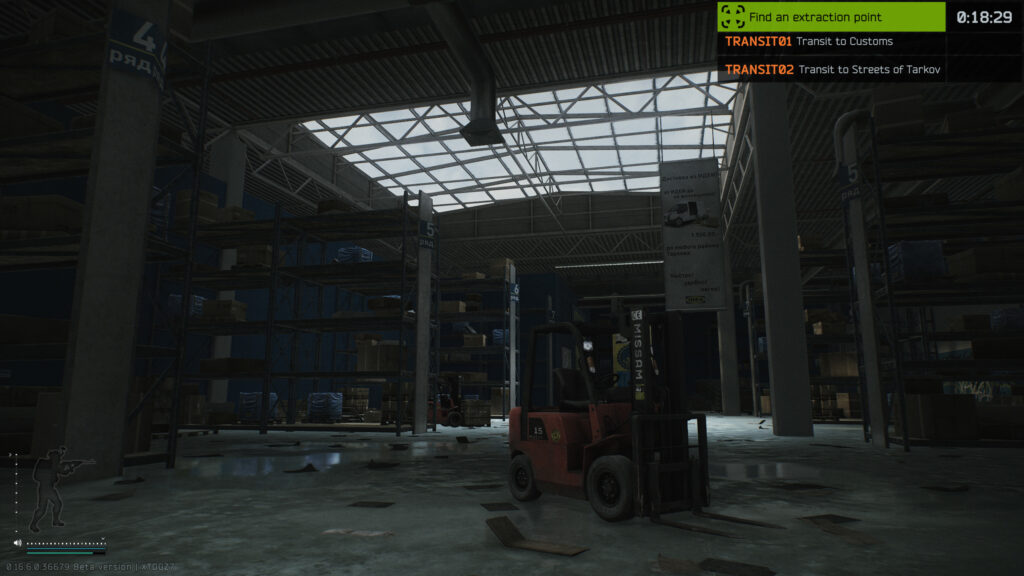
- Extraction Plan: Note the exact exit icon on your map—whether it’s the pier gate on Shoreline, the trailer exit on Customs, or the bunker door on Reserve.
- Role Assignment: Carrier leads the path; you focus on rapid loot transfer and watching flanks. Confirm simple voice cues for “loot,” “cover,” and “move.”
- Final Ready Call: Once all items above are set, both say “ready” and click “Start” together.
Running through these seven steps before each run means zero surprises at load-in. You and your carrier begin with the same map entry, the same exit in mind, and clear roles. That coordination turns what could be a confusing lobby phase into a seamless launch, setting you up for a fast, focused raid from drop-in to extraction.
In-Raid Task Execution
Once the raid begins, keep your focus on the Peacekeeper objectives and follow your carrier’s lead without deviation. Key actions to execute tasks swiftly include:
- Stay Close: Keep within two meters of your carrier so you mirror every turn and never lose the path.
- Direct Pathing: Move straight to each objective location as marked in the table above, skipping unrelated rooms and corridors.
- Hold-to-Loot: Open containers or pick up quest items with a single hold action to grab everything at once and save clicks.
- Immediate Transfer: Place items directly into your secure case or pouch—never leave quest loot in your main inventory.
- Count on the Fly: After each grab, glance at your pouch to confirm the correct quantity before moving on.
- Minimal Combat: Engage AI only if they block the route. Your carrier will clear most threats—avoid firefights that cost time.
- Respond Fast: If your carrier calls “cover” or “move,” act instantly—no pausing to check the map or menu.
- Skip Extras: Ignore side loot or non-quest items, even if they look valuable. Every detour adds seconds.
This laser focus on mission targets, rapid looting, and seamless movement ensures each Peacekeeper run wraps up in minutes rather than an hour. By following these in-raid steps, you and your carrier clear objectives quickly, maintain momentum, and stay on track for maximum reputation gains.
Combine Multiple Tasks
To get the most out of each boosted session, stack Peacekeeper runs with other trader quests on the same map. Look for tasks that share the same containers or enemy spawn areas. For instance, on Shoreline you can combine “Delivery from the Past” with “Painkiller Addiction”—both hit the east wing medical racks. On Woods, pair “Peacekeeper Tests” pistol kills with “Recoil Check” ammo-gathering runs near the lumber mill office.
Use this mini-checklist when adding objectives:
- Map Match: Ensure all tasks are on the same map.
- Objective Proximity: Pick goals within a short detour of each other.
- Exit Sync: Confirm that all tasks lead to the same extraction point without backtracking.
By layering two or three tasks in one raid, you clear more objectives per extraction, boosting reputation faster. This grouping method reduces lobby time, limits loadout changes, and maximizes each carry run’s value.
Conclusion
Ranking up Peacekeeper with Tarkov Boosting turns long, uncertain runs into focused, time-saving sessions. You start with clear task lists, lean gear setups, and synced lobby details. In-raid, you follow direct routes to objectives, use fast looting actions, and head for extraction without detours. Post-raid, you submit tasks immediately, track remaining items, and refine your setup for the next session. By stacking compatible quests on the same map, you multiply reputation gains per extraction. With this approach, each boosted run becomes a high-value operation that steadily pushes your Peacekeeper standing upward and unlocks better gear options without the usual trial-and-error grind.