Amanda Barret is an experienced gaming journalist with over five years of experience in covering the ever-evolving gaming industry. She has been featured on major game sites, magazines and blogs such as Kotaku, Polygon, IGN, Joystiq and many more. Amanda is a passionate writer who loves to explore new trends and dive deep into in-depth analysis of groundbreaking games. With a particular affinity for indie titles, she often takes readers through an immersive journey that explores the history behind some of the most beloved titles.
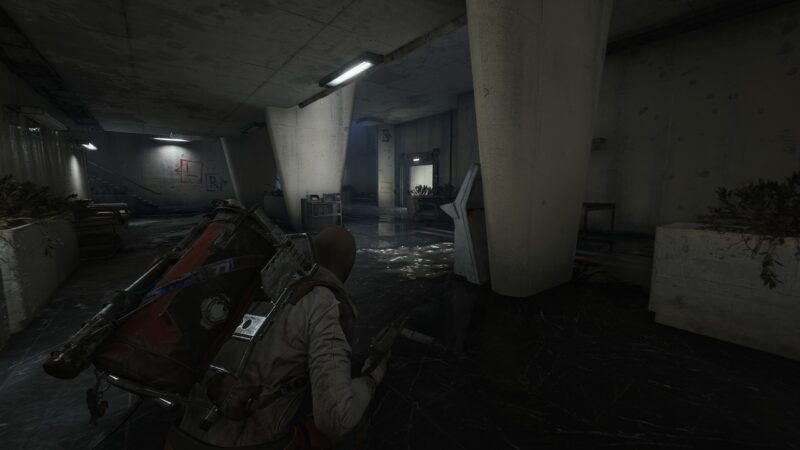
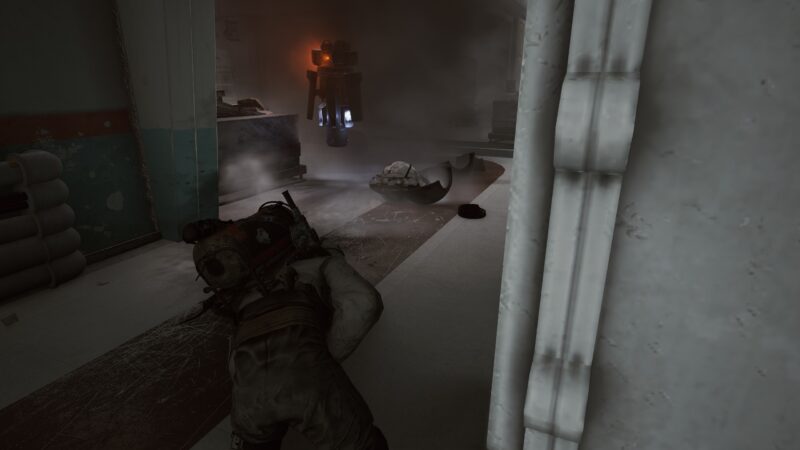
In Arc Raiders, most failures are decided moments before they become visible. Disaster rarely arrives without warning; it forms through a chain of small risk assessment decisions made under pressure.
These decisions happen quickly and often feel reasonable at the time. Players commit to a route, an engagement, or a delay without fully weighing the cost. When the outcome turns bad, it feels sudden. In reality, the collapse was already set in motion seconds earlier.
Why Final Decisions Carry Disproportionate Weight
The last decision before contact carries more weight than earlier planning because options are already limited. Escape routes are narrowed, resources are partially spent, and information is incomplete.
Players often rely on instinct at this stage, assuming momentum will carry them through. When instinct overrides evaluation, risk compounds instantly. Survivors slow these moments down mentally, even when action remains fast.
False Safety Created by Temporary Calm
Brief periods of calm create a false sense of safety. Silence is mistaken for absence, and empty space is treated as secure. Players lower their guard, cross exposed ground, or delay repositioning.
This calm often precedes contact rather than replacing it. Disaster follows when players commit to movement based on lack of evidence instead of positive confirmation. Absence of threat is not proof of safety.
Commitment Bias Under Pressure
Once a decision is made, players resist reversing it even when new information appears. This commitment bias locks players into bad routes and risky engagements. Turning back feels like wasted effort or lost time. Enemy presence, sound cues, or environmental exposure are ignored in favor of finishing the plan. Survivors abandon decisions early, understanding that survival favors flexibility over consistency.
Last-Second Choices That Trigger Collapse
Certain decisions repeatedly appear before disaster.
Crossing open ground instead of waiting for confirmation
Chasing weakened targets without checking surroundings
Delaying extraction to “do one more thing”
Holding position despite shrinking escape options
These choices feel small but remove recovery paths.
Training the Pause Before Commitment
Survivors develop the habit of pausing mentally before final commitment. This pause is brief but deliberate, allowing reassessment of exits, sound, and resource state.
It prevents autopilot movement and breaks emotional momentum. Players who cultivate this habit reduce catastrophic failures without slowing overall pace. The pause becomes a survival reflex.
Conclusion
Risk assessment failures in Arc Raiders are rarely about lack of skill. They emerge from rushed decisions made just before danger fully appears.
Players who recognize these moments and re-evaluate instead of committing blindly preserve control. Disaster is often avoidable—but only if the warning signs are acknowledged in time.
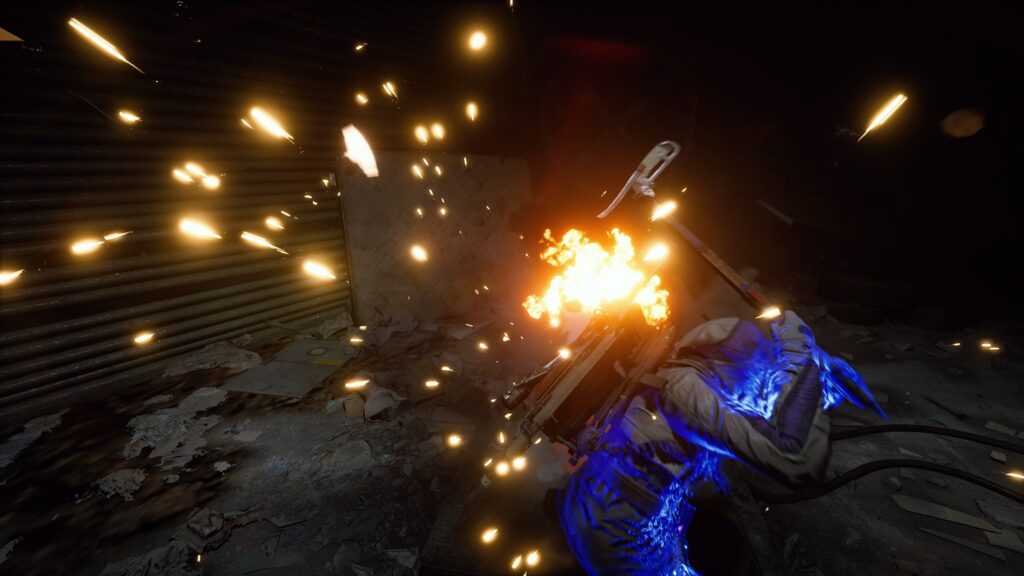
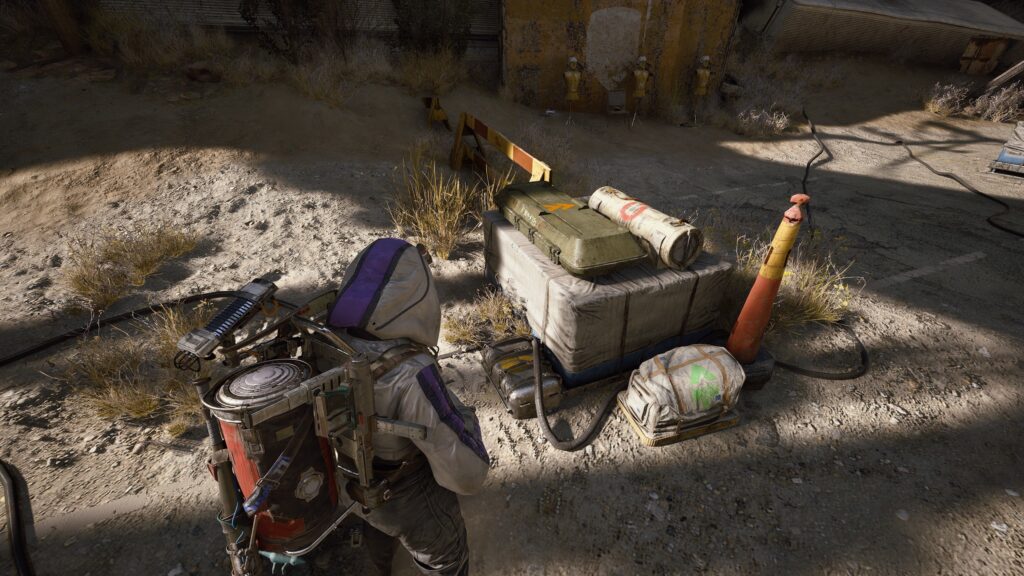
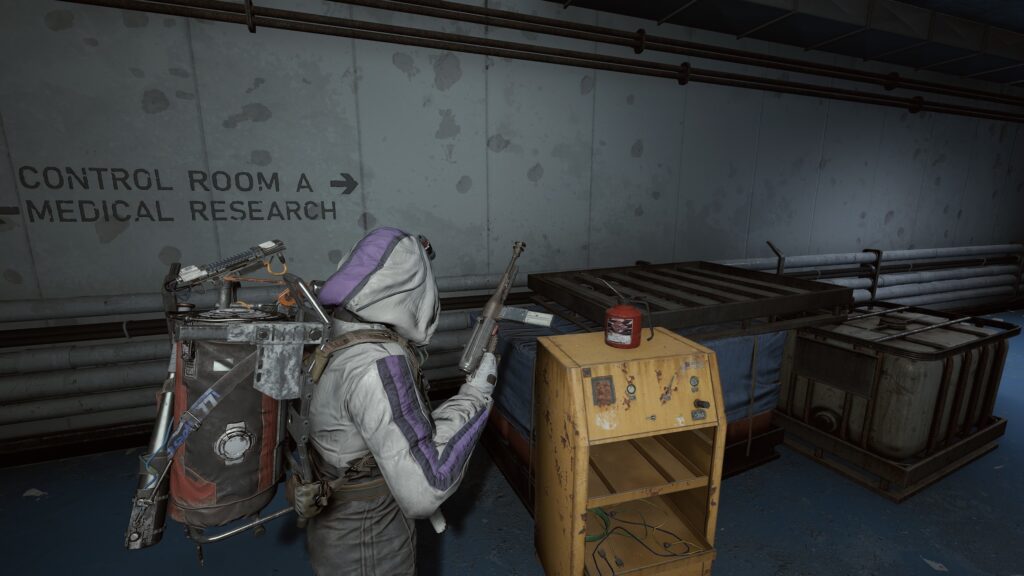
Gear loss in Arc Raiders creates psychological pressure that extends beyond the moment of failure. Losing equipment is not just a setback—it alters how players approach future deployments.
Fear, hesitation, and avoidance emerge quietly, shaping decisions before the next raid even begins. Many players struggle more with returning after loss than with the loss itself. Understanding this psychology is key to maintaining long-term progress.
Why Gear Loss Feels Personal
Gear represents time, planning, and identity. Loadouts are built through effort and familiarity, making their loss feel personal rather than mechanical.
When gear disappears, players experience a break in continuity. Confidence drops, and trust in decision-making weakens. This emotional response often outweighs the actual material setback. Survivors acknowledge the feeling without letting it dictate future behavior.
Fear-Induced Overcorrection
After a loss, players often overcorrect. They move too cautiously, avoid necessary engagements, or extract prematurely. While caution has value, excessive fear reduces opportunity and increases long-term stagnation.
Players become trapped in low-risk loops that prevent recovery. The fear of repeating loss becomes more damaging than the loss itself. Survivors recalibrate risk instead of eliminating it.
The Delay That Reinforces Anxiety
Avoiding immediate re-entry after loss reinforces fear. The longer players wait, the heavier the gear loss feels. Anxiety grows as imagined risk replaces real experience. Players begin attaching symbolic weight to future raids, increasing pressure and hesitation. Returning sooner keeps loss contextual and prevents emotional escalation. Momentum protects confidence.
Common Psychological Traps After Gear Loss
Several patterns consistently appear after failed raids.
Overvaluing replacement gear and refusing to use it
Delaying raids until “perfect conditions” exist
Blaming systems instead of decisions
Avoiding familiar routes due to association with loss
These traps slow recovery more than scarcity.
Reframing Loss as Information
Survivors reframe gear loss as information rather than punishment. Each failure highlights weaknesses in positioning, timing, or judgment. This reframing restores agency and reduces emotional weight.
When loss becomes feedback, fear loses control. Players return with purpose rather than hesitation, using insight gained rather than avoiding risk altogether.
Conclusion
Gear loss in Arc Raiders tests psychological resilience more than mechanical ability. Fear of going back in can quietly stall progress if left unchecked.
Players who acknowledge loss, return quickly, and treat failure as information regain confidence faster. Survival is not just about keeping gear—it is about maintaining the willingness to step back into danger with clarity and control.
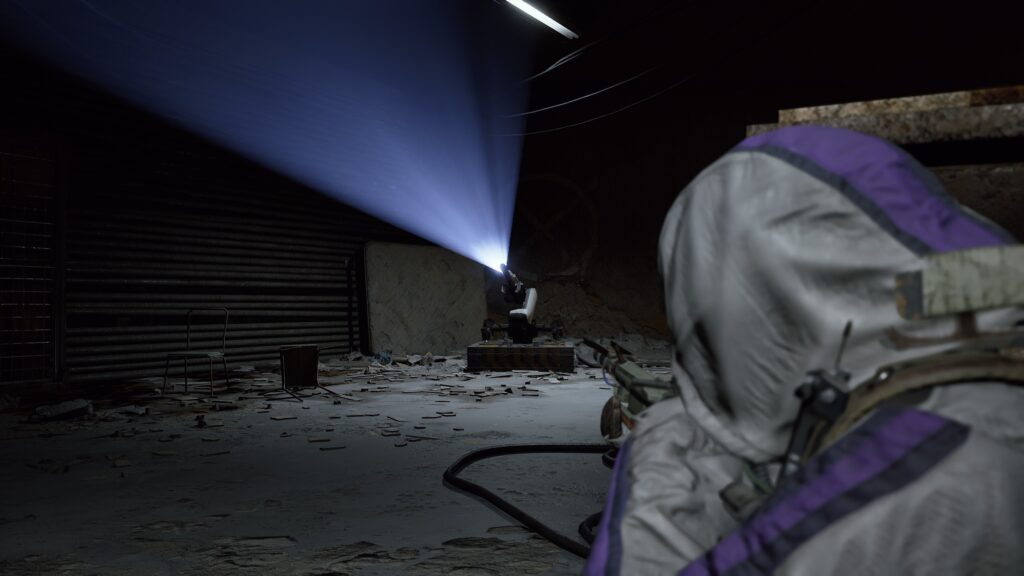
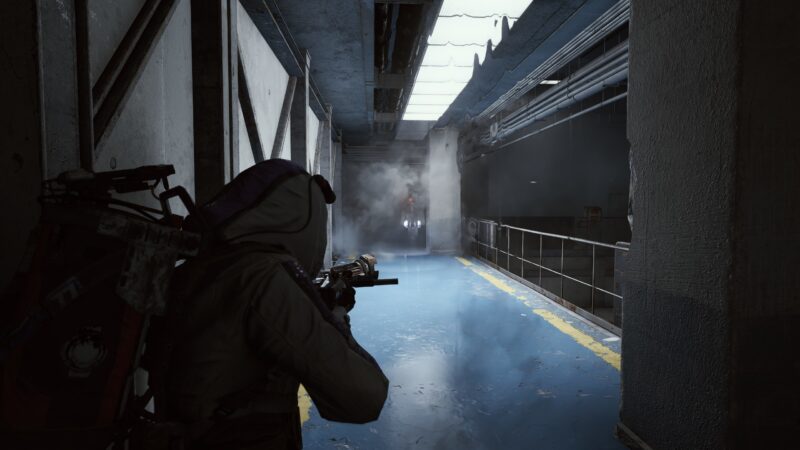
In Arc Raiders, sound often reveals danger long before enemies enter view. Footsteps, mechanical movement, distant weapon fire, and environmental noise create a layered audio landscape that constantly broadcasts information.
Players who ignore this layer experience sudden ambushes, while those who learn to read sound cues feel danger approaching minutes in advance. Survival depends less on sharp reactions and more on interpreting what the environment is already telling you.
Why Sound Travels Farther Than Sight
Visual information is limited by line of sight, lighting, and obstruction. Sound bypasses these limits, carrying through structures and terrain. Distant movement may be inaudible visually but still announce intent through audio cues.
Players who rely only on vision react late, while those tuned into sound adjust positioning early. Sound extends awareness beyond immediate surroundings, providing time that sight alone cannot offer.
Identifying Meaningful Audio Signals
Not all sound indicates immediate threat. The challenge lies in distinguishing meaningful cues from background noise. Rhythmic footsteps, metallic movement, and directional echoes provide clues about proximity and intent. Survivors learn to filter ambient sound and focus on patterns that break the environment’s baseline. This selective listening prevents false alarms while preserving readiness.
Sound as a Trigger for Preemptive Movement
The most valuable use of sound is not reaction but prevention. Players who hear danger early reposition before contact, choosing cover or escape routes while options remain.
Waiting to confirm visually often removes this advantage. Preemptive movement turns audio cues into space control, allowing players to dictate engagement terms rather than respond under pressure.
Audio Signals That Consistently Indicate Threat
Certain sound cues repeatedly precede danger.
Footsteps breaking ambient rhythm
Mechanical movement behind cover
Distant weapon fire closing in
Environmental disturbances without visual cause
These sounds provide early warning when recognized.
Why Ignoring Sound Leads to Ambush
Players who treat sound as background lose situational awareness. Engaging menus, looting, or sprinting through noisy terrain masks incoming threats.
By the time visual confirmation occurs, escape options are gone. Survivors protect their audio channel, minimizing self-generated noise and staying alert during quiet moments. Listening becomes an active survival tool.
Conclusion
Sound cues in Arc Raiders reveal danger before it appears by extending awareness beyond sight.
Players who learn to interpret audio signals reposition earlier and avoid ambushes. In an environment where threats rarely announce themselves visually, listening carefully often matters more than looking quickly.
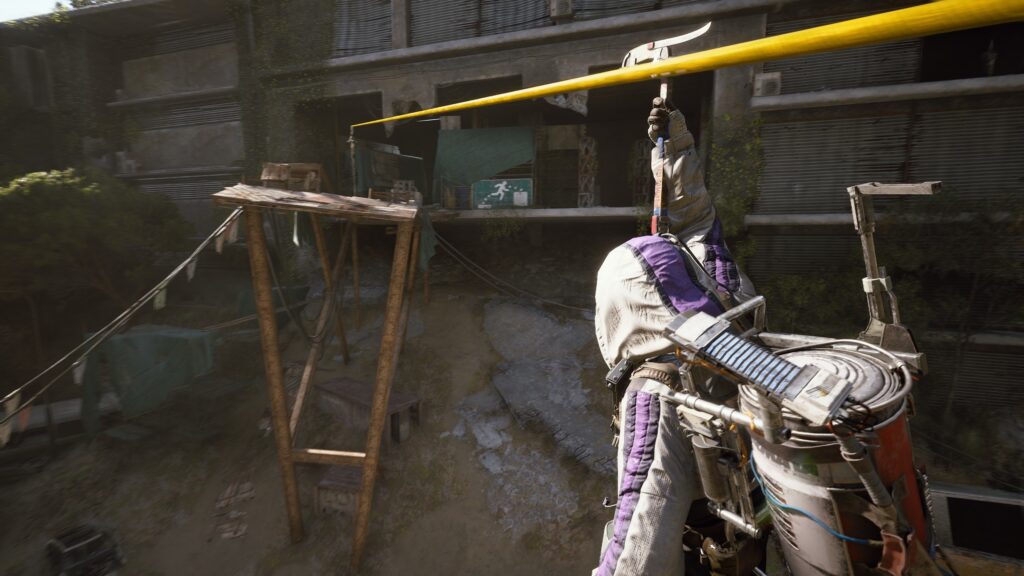
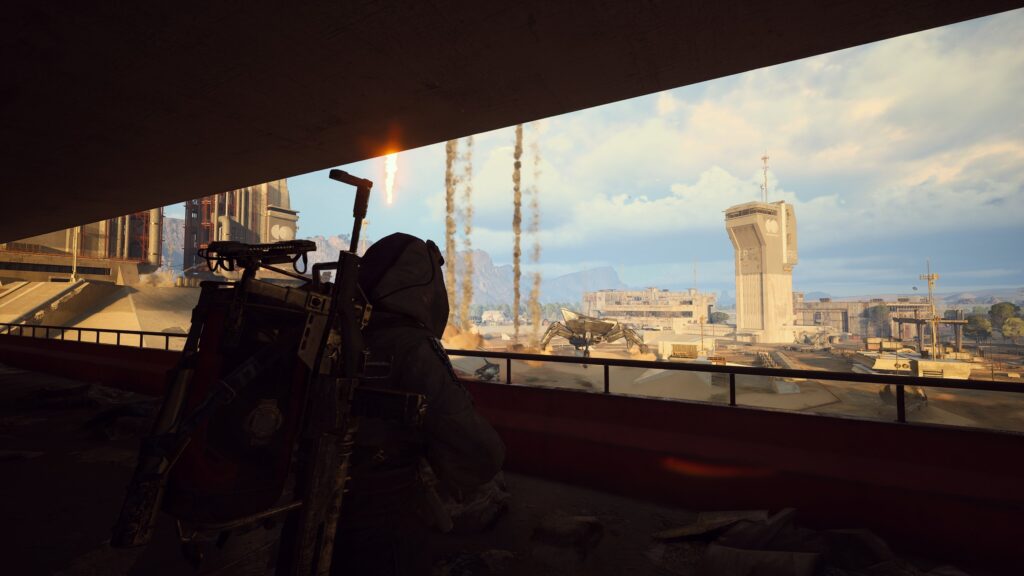
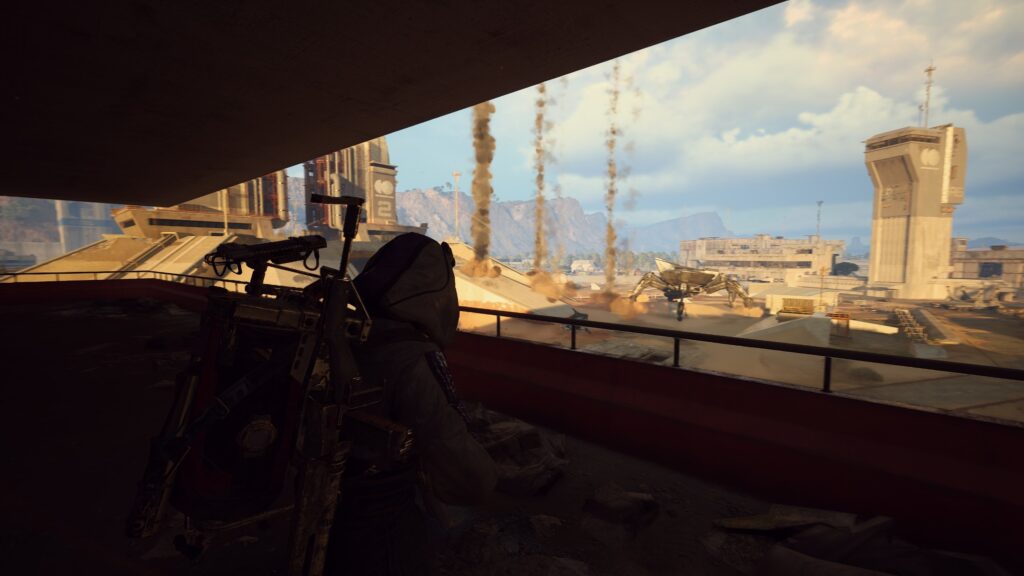
Verticality in Arc Raiders reshapes combat in ways that challenge traditional shooter habits. Multi-level environments, elevation changes, and overhead threats force players to think beyond flat movement and horizontal cover.
Tactics that work on even ground often fail when combat expands upward and downward. Survival depends on understanding how height alters visibility, exposure, and control.
Why Height Changes Information Flow
Vertical spaces alter how information is gathered and interpreted. Enemies above or below break standard sightlines, making traditional scanning ineffective. Sound becomes less directional, and movement cues are harder to localize.
Players accustomed to horizontal threats often misjudge danger in vertical environments. Survivors adjust awareness upward and downward, expanding perception beyond eye level.
Elevation as Both Advantage and Liability
Holding elevation provides visibility and control but increases exposure. Elevated positions reduce cover options and restrict retreat paths. Players who treat height as permanent advantage often become isolated targets. Survivors use elevation temporarily, repositioning before threats converge. Height is a tool, not a refuge.
Movement Risks in Multi-Level Combat
Vertical movement introduces delays and commitment. Climbing, dropping, or descending locks players into predictable animations. These transitions remove flexibility and invite punishment if mistimed.
Players who move vertically without clearing threats often lose control mid-transition. Survivors plan vertical movement carefully, treating elevation changes as tactical commitments.
Vertical Factors That Redefine Engagements
Several vertical elements consistently influence combat outcomes.
Limited cover options at elevation
Sound distortion across vertical distance
Predictable movement during climbs and drops
Restricted escape paths when cornered above or below
These factors demand new tactical awareness.
Adapting Shooter Instincts to Vertical Space
Players who adapt to vertical combat slow their pace and widen awareness. They check above and below before committing, listen for elevation-based cues, and avoid staying exposed at height.
Traditional shooter instincts favor forward pressure; vertical spaces reward patience and repositioning. Adaptation replaces habit.
Conclusion
Vertical combat spaces in Arc Raiders change shooter tactics by disrupting flat assumptions about movement and control.
Players who respect height as a dynamic risk factor rather than a simple advantage survive longer. In multi-level environments, awareness in all directions defines success more than aim alone.
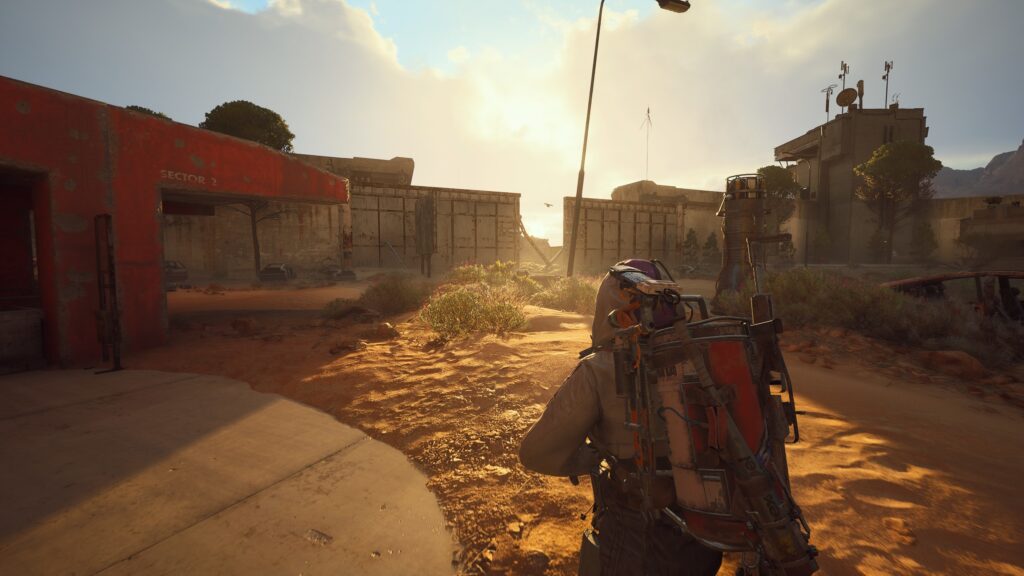
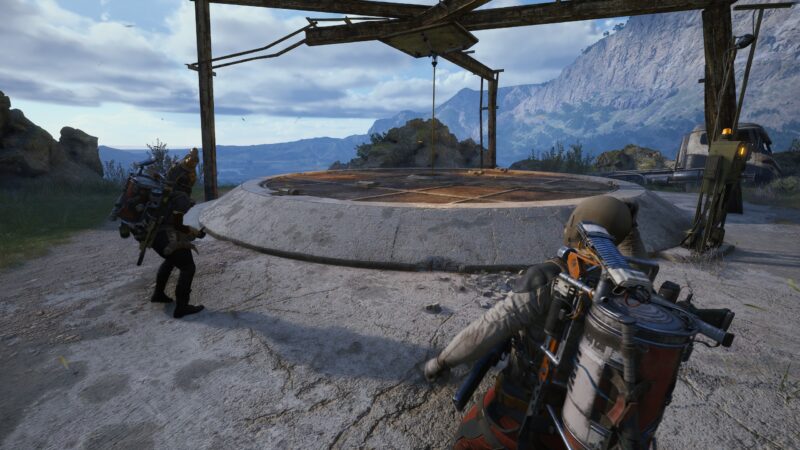
Early Access environments in Arc Raiders create learning curves that are uneven, unstable, and constantly shifting. Systems evolve, balance changes land without long-term patterns, and players must adapt without the comfort of established solutions.
This environment rewards flexibility over mastery. Players who expect consistency struggle, while those who treat uncertainty as part of the experience progress faster. Adaptation, not optimization, becomes the defining survival skill.
Why Early Access Disrupts Traditional Learning
In stable games, learning follows repetition and refinement. Early Access breaks this cycle. Mechanics change before habits settle, and reliable strategies lose value overnight.
Players who lock into fixed routines feel punished when updates shift conditions. Survivors learn principles rather than patterns. They understand why something works instead of memorizing how it works, allowing them to adjust when systems move beneath them.
Adaptation Through Observation Rather Than Speed
Early adopters often rush to mastery, assuming speed equals advantage. In reality, observation provides more value. Watching how encounters change, how AI responds after updates, and how environments behave under new conditions builds adaptable understanding. Players who slow down during transitions maintain clarity, while those who rush often relearn the same lessons repeatedly.
Unlearning as a Survival Skill
Adaptation requires unlearning habits that no longer serve their purpose. Muscle memory, once reliable, becomes a liability when systems shift. Players resist this process because it feels like losing progress.
Survivors accept temporary discomfort in exchange for long-term control. Letting go of outdated instincts prevents repeated failure caused by clinging to past success.
Adaptation Mistakes That Stall Progress
Certain behaviors consistently slow player growth during Early Access.
Overcommitting to outdated strategies
Blaming instability instead of adjusting behavior
Chasing efficiency before understanding systems
Ignoring subtle changes in encounter pacing
These mistakes create frustration rather than insight.
Why Flexible Players Progress Faster
Flexible players treat Early Access as a moving target rather than a solved problem. They test assumptions, adjust expectations, and remain open to change.
This mindset reduces emotional resistance to updates and preserves confidence. Adaptation becomes continuous instead of reactive. Over time, these players build resilience that carries beyond Early Access into long-term play.
Conclusion
Early Access learning curves in Arc Raiders reward players who adapt rather than optimize. Progress comes from understanding systems at a foundational level and accepting change as constant.
Players who embrace uncertainty gain clarity faster, while those seeking stability struggle against a game still defining itself. Adaptation is not a phase—it is the skill that carries everything else.
The Darkness is one of the most mysterious and enigmatic forces in the Destiny universe. For years, players have been battling against the forces of Darkness without fully understanding its true nature or its ultimate goals. In Destiny 2, the Darkness has played a major role in shaping the narrative and driving the conflict between Light and Darkness. As the game continues to evolve, it’s clear that Bungie has only begun to explore the true depth of the Darkness and what it means for the Destiny universe. In this article, we’ll explore how Destiny 2 could expand on the Darkness as a cosmic threat and what it could mean for the future of the game.
What We Know About the Darkness So Far
The Darkness has always been a looming presence in the Destiny universe, though its true nature has been shrouded in mystery. From the moment players first encountered the Taken in *Destiny: The Taken King*, it became clear that the Darkness was not just a metaphorical concept, but an active force within the universe. Over the years, players have learned that the Darkness is a cosmic entity, one that is diametrically opposed to the Light that powers the Guardians.
In *Destiny 2: Forsaken*, players faced the threat of the Taken, a race of corrupted entities that serve the Darkness. More recently, in *Beyond Light*, Guardians have learned that the Darkness can be wielded as a power source, allowing them to harness its abilities and use it against their enemies. This new connection between the Darkness and the Guardians hints at a deeper and more complex relationship between these two cosmic forces, one that will likely play a significant role in future expansions.
The Potential of Expanding the Darkness
As Destiny 2 continues to evolve, there’s a significant opportunity for Bungie to further explore the Darkness as a cosmic threat. While *Beyond Light* introduced the concept of wielding the Darkness, the full scope of its power and influence remains largely unexplored. One way Bungie could expand on the Darkness is by introducing new factions, entities, or even entire races that are aligned with the Darkness, similar to how the *Vex* and *Cabal* have been explored as antagonistic factions tied to the Light.
Expanding the Darkness could also involve revealing more about its origins and motivations. Is it truly evil, or is it simply a force of nature, like the Light? Is there a way for the Guardians to coexist with the Darkness, or must it always be a source of conflict? By answering these questions, Bungie can add layers of complexity to the story, creating new challenges and opportunities for players to engage with this mysterious force.
The Darkness and the Future of Destiny 2’s Story
As the Darkness continues to grow in importance, it’s likely that it will play an even more prominent role in Destiny 2’s future expansions. Bungie has already hinted that the story of the Darkness is far from over, and its eventual resolution could mark a significant turning point in the Destiny universe. Will the Guardians fully embrace the Darkness, or will they continue to fight against it? And what happens when the Light and Darkness are both wielded by the same entity?
One possible direction for future expansions could involve a deeper exploration of the Darkness’ impact on the world. As players unlock more Darkness-based powers and abilities, they could uncover hidden truths about the forces they are harnessing. This could lead to moral dilemmas and tough choices about how far players are willing to go in their use of the Darkness. Will they be able to wield it responsibly, or will they succumb to its corrupting influence?
The Role of the Darkness in Shaping the Destiny 2 Universe
The Darkness has always been positioned as the ultimate antagonist in Destiny 2, but its role within the universe is much more complex. It’s not just an enemy to be vanquished but a force that shapes the very fabric of the Destiny universe. The Darkness is tied to the creation of powerful entities like the Taken, and its influence has extended to many of the game’s core factions, from the *Vex* to the *Hive* to the *Fallen*.
By expanding the lore of the Darkness, Bungie could create new storylines that delve into its history, its connection to other cosmic forces, and how it interacts with the Light. Whether it’s through the introduction of new enemies or the discovery of long-lost secrets, the Darkness has the potential to become a far more significant force within the Destiny 2 universe, one that could change the way players view the ongoing conflict between the Light and Darkness.
Conclusion: The Future of the Darkness in Destiny 2
The Darkness remains one of the most intriguing and unexplored aspects of the Destiny universe. As Destiny 2 continues to evolve, it’s clear that the Darkness will play a larger role in the game’s story. Whether it’s through the introduction of new factions, deeper lore, or more morally complex choices, Bungie has the opportunity to expand the Darkness in ways that will add depth to the game’s ongoing narrative. The future of Destiny 2’s story is tied to the Darkness, and its expansion will be one of the most exciting developments to look forward to in the game’s future.
Introduction: Why New Players Struggle in Early Raids
Escape From Tarkov places new players in a difficult environment right from the start. Early raids are filled with strong players, aggressive AI, and confusing layouts that make it hard for beginners to understand where danger might come from. Most new players begin with weak gear, low-level ammo, and very little experience with the game’s movement or sound system. Small mistakes often lead to fast deaths, which quickly drain their stash and confidence.
Many beginners spend several hours losing equipment without gaining real progress, which slows their entire wipe. This early frustration becomes even harder to handle when players cannot complete important quests or unlock better traders. Without these steps, they remain stuck with unreliable gear and limited resources. EFT Boosting helps new players avoid this slow start by giving them support from an experienced partner. With someone guiding their movement, protecting them from sudden threats, and helping them extract safely, beginners gain time to learn and understand the game. This early guidance turns repeated failures into steady progress and gives players a much smoother start than they would have alone. Instead of fighting frustration, they begin to build confidence and momentum from their very first sessions.
Faster Trader Levels and Early Game Unlocks
Trader progress is one of the most important systems in Escape From Tarkov because it determines what equipment players can buy. Better armor, stronger ammo, medical supplies, and weapon parts all come from trader levels, which are tied directly to quests. New players often struggle to finish these quests because they require entering dangerous areas, looting specific rooms, or defeating enemies who are much stronger. Without support, beginners may lose several raids in a row, delaying their access to important gear upgrades.
EFT Boosting speeds up this entire process by helping players complete early quests without repeated failures. The booster guides the player through the map, clears risky spots, and makes sure they reach each objective safely. This allows beginners to finish tasks that would normally take them hours or even days to complete on their own. Faster trader levels mean better ammo, more reliable armor, and higher-quality weapons, which make every future raid more manageable. With stronger equipment, beginners survive longer, learn faster, and stop feeling stuck. Instead of grinding the same quests repeatedly, they progress through the early stages of the wipe smoothly and with far less stress.
Help With Hard Quests and Risky Zones
Many quests in Escape From Tarkov require players to go deep into dangerous areas where skilled opponents and aggressive AI are common. Dorms, office buildings, military camps, and underground tunnels are filled with threats, and beginners often struggle to survive long enough to complete their objectives. Entering these zones alone can lead to repeated deaths, lost gear, and constant frustration.
EFT Boosting gives players a safe way to finish these quests without wasting hours on failed attempts. The booster clears the area, protects the player, and guides them directly to their goals. This support reduces the number of runs needed to finish each task, allowing beginners to progress much faster. It also teaches them how to move through dangerous zones with better timing and awareness. Instead of rushing blindly or freezing under pressure, beginners watch how a skilled player handles each situation. Over time, this improves their own decision-making and confidence. By completing quests quickly and with fewer losses, players build momentum early in the wipe and avoid the slow, painful progress that many beginners face.
Better Loot and More Successful Extracts
A strong stash is one of the most important parts of progress in Escape From Tarkov, but new players often struggle to keep even basic items because their early raids end in fast deaths. They enter with low-tier gear, and because they lack map knowledge and awareness, they rarely survive long enough to collect loot. Even when they find valuable items, they often hesitate or loot too slowly, which gives enemies time to reach their position. EFT Boosting helps fix this problem by giving beginners safe, guided raids where a skilled partner handles most of the dangerous work. The booster clears rooms, checks corners, and keeps the player protected while they gather items. This support allows the beginner to focus on looting without constant fear of sudden attacks. As a result, they bring home weapons, armor, barter items, and quest materials much more consistently. A few successful raids early in the wipe create a strong foundation that helps new players avoid stress and rebuild gear easily. To show how boosting improves early loot results, here is a short list of the main loot advantages:
More successful extracts with valuable items
Fewer empty raids and fewer gear losses
Safer access to rare loot spots
Faster stash growth with weapons and armor
Lower pressure during early learning sessions
Learning Maps Through Real-Time Guidance
Escape From Tarkov has many detailed maps, and beginners often struggle to understand their layouts. They enter raids without knowing where to go, which areas are dangerous, or how to reach extraction points safely. This confusion leads to poor movement choices and repeated deaths, slowing progress even further. EFT Boosting helps new players learn maps much faster because they follow an experienced partner through real raids. Instead of trying to study everything on their own, beginners get direct guidance that shows them safe paths, strong positions, and good angles.
Seeing these routes in action helps players remember them more clearly. They also pick up important habits, such as staying close to cover, listening for footsteps, and avoiding loud movement on certain surfaces. Over time, players gain confidence because they no longer feel lost in each raid. They begin to recognize landmarks, understand common player routes, and react better to danger. To highlight how direct guidance improves learning, here is a simple table comparing map progress alone versus with support:
Learning Method
Alone
With EFT Boosting
Map knowledge
Slow and uncertain
Fast with clear examples
Survival chances
Low due to confusion
Higher with guided routes
Extract awareness
Often unclear
Learned quickly in real raids
Reaction to danger
Hesitant and late
More confident and timely
Long-term improvement
Gradual
Noticeable after a few sessions
Time Savings for Busy Players
Many players enjoy Escape From Tarkov but cannot commit long hours each day. Slow progress can feel discouraging for those with limited time, especially when early failures lead to repeated gear losses and delayed quest progress. EFT Boosting helps busy players avoid these setbacks by giving them a faster and more efficient way to move through early and mid-game objectives.
Instead of wasting time on long raids that end in failure, they complete several tasks in one session with guidance. This allows them to stay competitive even with short play windows. It also reduces stress because they no longer worry about falling behind the rest of the player base. With help from an experienced partner, they make steady progress, gather strong loot, and unlock key traders without needing long hours of grinding. The time savings also give them more freedom to practice shooting, learn maps, or enjoy casual raids without feeling pressure. This approach supports a healthier pace for players who love the game but do not have endless time to invest.
Rouble farming is one of the most essential skills in Escape From Tarkov. With expensive ammo, costly repairs, and trader upgrades, keeping your wallet healthy determines how often you can raid and how well you can gear up. Yet, many players lose money faster than they make it by taking unnecessary risks. Efficient farming isn’t about luck—it’s about strategy, planning, and smart risk management.
This guide shows how to build wealth sustainably by learning when to take chances, when to play safe, and how to maximize profit per raid without burning through your stash.
Understanding Risk vs. Reward
Every Tarkov raid is a gamble. You risk losing gear for the potential of greater profit. Smart players learn to balance these two forces, taking manageable risks instead of chasing unrealistic jackpots. Running light gear in low-traffic areas, farming hidden stashes, or scavenging after fights can earn consistent income with minimal danger.
High-value loot zones might seem tempting, but knowing when to walk away keeps you richer in the long run.
Choosing the Right Maps for Profit
Different maps cater to different risk levels. Woods and Shoreline offer safer runs with steady stash income, while Interchange and Lighthouse present higher profits at higher danger. Select maps based on your current loadout and confidence. Early wipe players should focus on lower-tier maps, while geared veterans can safely exploit high-value zones.
Consistency beats volatility—five safe runs often earn more than one lucky high-risk jackpot.
Loadouts for Efficient Farming
Don’t overgear when your goal is profit. Cheap rifles like the SKS or ADAR-2-15 paired with mid-tier armor are enough for self-defense. Prioritize inventory space for loot rather than expensive weapons. Always carry meds, a backpack, and at least one secure container slot for high-value finds like GPUs or rare barter items.
The less you risk per raid, the faster your stash—and your confidence—will grow.
Loot Prioritization and Selling
Not all loot is equal. Prioritize items with the best ruble-per-slot ratio, such as valuable barter materials, technical parts, and high-demand meds. Sell common items to traders for quick cash and rare finds on the Flea Market for higher returns. Avoid hoarding too long—market prices fluctuate daily, and timing can make or break profits.
Smart selling and quick turnover keep your cash flow steady between raids.
Profit Strategies Overview
The table below summarizes efficient rouble farming strategies for different player risk levels:
Strategy Type
Risk Level
Profit Consistency
Recommended Maps
Stash Farming
Low
High
Woods, Shoreline
Loot & Extract
Medium
Moderate
Customs, Interchange
Boss & PvP Hunting
High
Variable
Lighthouse, Reserve
Conclusion
Farming roubles efficiently in Tarkov isn’t about aggression—it’s about control. By managing risk, choosing your maps wisely, and prioritizing loot strategically, you can build wealth without constantly going broke. The most successful players treat each raid like a business decision: calculate, adapt, and extract when the profit margin makes sense.
In Tarkov, survival and success go hand in hand. Play smart, stay calm, and let your strategy—not luck—fill your stash with roubles.
Weapon balancing is one of the most influential aspects of Escape From Tarkov’s ongoing evolution. Every adjustment to recoil, ammo penetration, or ergonomics can redefine the meta overnight. In 2025, recent balance patches have shaken the weapon hierarchy, shifting dominance away from long-standing favorites and rewarding players who experiment with new setups. The community’s reaction has been intense—some praise the realism, others mourn the fall of their favorite rifles.
This analysis explores the biggest weapon balance changes of 2025, how they affect gameplay, and what players are doing to adapt to the new meta landscape.
Major Balance Changes in 2025
The most recent patch reworked recoil systems and ammo damage scaling. Automatic weapons like the HK416 and M4A1 saw slightly higher recoil multipliers, reducing their pinpoint accuracy during extended bursts. Meanwhile, semi-auto rifles such as the SR-25 and DMR variants gained stability buffs, rewarding precision and controlled fire.
Submachine guns also rose in viability thanks to reduced recoil penalties while moving, allowing smoother handling during close-quarter combat. This update marked one of the most comprehensive weapon overhauls since Tarkov’s beta days.
Rise of the New Mid-Tier Meta
With high-end ammo becoming rarer and expensive, mid-tier rifles like the AK-103 and MDR have taken center stage. Players are now favoring versatility and economy over sheer firepower. This shift encourages longer firefights and tactical engagements rather than quick one-tap duels. Balanced loadouts are more sustainable for both solo players and small squads.
These adjustments make Tarkov’s economy and combat environment healthier—rewarding adaptability instead of blind meta chasing.
Top Performing Weapons After the Update
While no weapon is perfect, several stand out for their reliability and flexibility in the new patch. The table below summarizes current high-performing weapons and their strengths:
Weapon
Category
Strength
Recommended Ammo
AK-103
Assault Rifle
Reliable, high-damage output
7.62×39 BP
MDR .308
Battle Rifle
Low recoil, great ergonomics
7.62×51 M80
Vector 9×19
Submachine Gun
Exceptional control, fast rate of fire
AP 6.3
SR-25
DMR
Accurate, efficient for long range
7.62×51 M62
Each of these weapons represents a new balance point—consistent performance without relying on rare attachments or ammunition.
Community Reaction to Meta Shifts
Reactions to the new balancing have been mixed. Competitive players welcome the reduced dominance of laser-accurate rifles, claiming it promotes skill and control. However, others argue that the new recoil patterns feel unpredictable, especially in high-latency situations. The shift also made early-game and budget builds more viable, leading to a more diverse battlefield overall.
The general consensus? Adaptation is now the key skill—those unwilling to adjust loadouts risk falling behind fast.
Predictions for Future Tweaks
Developers have hinted at upcoming minor recoil adjustments and attachment rebalancing to smooth out rough edges. Expect precision optics to receive ergonomic penalties, reducing their abuse in fast-paced fights. SMGs may get further sound tweaks to differentiate suppressed fire more clearly. These fine-tunings show Battlestate’s commitment to iterative balance grounded in real-world feedback.
The ongoing cycle of experimentation ensures Tarkov remains unpredictable and engaging with each patch.
Conclusion
Weapon balancing in 2025 has changed the way Tarkov players think about combat. The days of overpowered meta builds are fading, replaced by tactical decision-making and adaptable strategies. Whether you’re a mid-tier grinder or an elite raider, success now depends on mastering versatility and precision rather than chasing trends.
In Tarkov, balance isn’t about equality—it’s about evolution, and the smartest survivors always evolve first.
Survival in Escape From Tarkov isn’t about raw aim—it’s about discipline, awareness, and decision-making. While combat skills help, the best players succeed because they know when to fight and when to extract. Increasing your extraction rate isn’t just luck; it’s the result of calculated choices and smart habits developed over time. In 2025, with new AI, tighter spawns, and higher player aggression, survival efficiency has never mattered more.
This guide breaks down proven strategies to reduce deaths, stay alive longer, and how to use Tarkov Carry Service
Planning Before the Raid
Every successful raid begins with preparation. Study your map beforehand, identify your extraction points, and plan a flexible route that balances loot opportunities with safety. Bring only what you can afford to lose—over-gearing often leads to hesitation and greed. Always pack at least one painkiller, a splint, and enough ammo for extended fights.
Proper planning prevents panic. Players who know where they’re going rarely get lost or cornered by the zone’s chaos.
Early Raid Awareness
The first three minutes of any raid are the most dangerous. This is when spawns are close and aggressive players rush high-value areas. Avoid main choke points like Dorms on Customs or Resort on Shoreline until the initial wave of gunfire fades. Move quietly, listen for engagements, and approach high-risk zones from unexpected angles.
Patience in the early game often translates to survival in the late game.
Situational Awareness and Sound Discipline
Sound can reveal everything in Tarkov—both yours and your enemies’. Move in bursts, pausing often to listen for footsteps or reloading. Avoid sprinting in open areas and be cautious around surfaces like metal or glass that amplify noise. If you hear movement nearby, freeze and analyze direction rather than reacting instantly.
Remember: the quietest player almost always controls the engagement.
Choosing Engagements Wisely
Not every fight is worth taking. Engage only when you have a clear advantage—better position, sightline, or cover. If an encounter feels uncertain, retreat, reposition, or extract. Most deaths occur when players overcommit to fights they could have avoided. Understanding your limits and walking away from risky firefights will drastically increase survival rates.
Escaping alive with loot beats dying for pride every time.
Smart Loot Management
Greed kills more players than bullets. Once you’ve secured valuable loot, resist the temptation to overstay your raid. Drop low-value items to make room for high-tier gear and plan your extraction early. The table below shows general thresholds for when it’s worth leaving:
Loot Value
Recommended Action
100k–200k ₽
Continue looting with caution
200k–500k ₽
Consider heading toward extraction
500k+ ₽
Extract immediately—don’t risk losing it
Discipline turns ordinary players into consistent survivors. Know when enough is enough.
Extracting Safely
Approach extraction zones cautiously. Campers often lie in wait near exits, especially at high-value spawns. Use smokes, grenades, or diversions to draw attention away from your path. If you suspect an ambush, rotate through secondary exits or delay extraction until gunfire nearby confirms enemy presence.
Extraction isn’t the end of a raid—it’s the final test of your awareness and patience.
Conclusion
Improving extraction rates in Tarkov isn’t about mechanical skill—it’s about mindset. Prepare methodically, move intelligently, and know when to fight or flee. Each successful extraction builds confidence and reduces unnecessary risk. In 2025, surviving consistently is the true mark of mastery in Tarkov’s unforgiving world.
Live to fight another raid—because survival is the ultimate win condition.